Walls
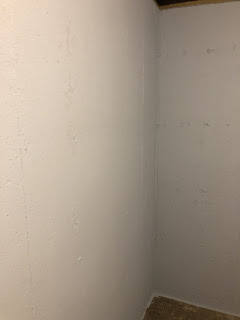
To help reduce the dampness of the storm shelter we decided to paint the walls with waterproof paint. A light color, called Bubble Bath, was used to help brighten up the room. The paint was rolled on the walls with a 3/4" nap roller to help it cover the rough surface. The paint is Zinsser® WaterTite® LX Ultra Concrete & Masonry Waterproofing Paint if your are interested in it, and it is easy to work with because it cleans up with water.
Steps
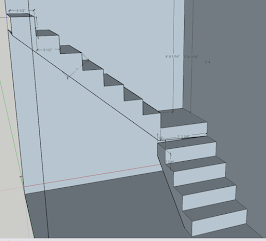
The steps are built with all treated lumber and were drawn out with CAD before building them to make sure the stringers were cut right. We opted to cut our own stringers to make a custom rise and run. The steps treads are made with 2 cuts of thick decking boards. The sides that touch the walls are bolted to the wall with concrete anchors.
Electrical
A temporary light was installed and the switch to control it. Wires were run with EMT conduit to the plugs, which are GFCI in case they get wet. Conduit connects to junction boxes in the ceiling.


