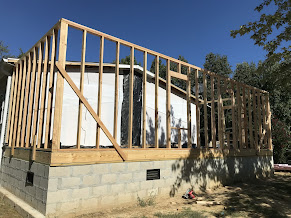
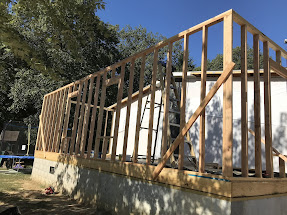
Framing Walls Part 2
The wall framing is finally completed and the two windows on the end wall have been framed to the correct dimensions. They are centered in the wall with one in the closet and the other in the office area. The big windows (30" X 54") on the end wall will provide lots of natural light. A double top plate with staggered joints was installed to tie the wall together for full strength.
Rafter Support Beams
Beams were crafted to support the rafters, and are built with two 2x8s glued together with construction adhesive and are screwed together. One beam is at the ridge in the center of the house and the others are spaced on either side of the roof to spread the load out. Double studs carry the load of the beam down to the floor, and the other end is screwed to the original house with extra blocking to support it.
Rafters Part 1
A little over half of the rafters were set before we ran out of time. Each end of the rafters were angle cut and they were toe screwed into the support beams. At the ridge joint the rafter from each side are screwed together for strength. Next, the overhangs will have to be framed off the end and the rest of the rafters set. Also. After the rafters are installed the top of the wall will be tied into the rafter short with 2x4 studs. If everything goes to plan the roof sheeting and tar paper should be on by next week.


